Sunday, 13 October 2013

Making Jane Harrop's Kichen Cabinet

The picture on the front is what I am aiming for.  The scary part is always when you open a kit like this - there are so many bits.
Absolutely no need to worry - Jane has a page of all the pieces drawn to size and labelled clearly.  I like to lay out all the pieces by the side in the same layout so it is quick to find what I want during the assembly.  There are also three more pages of beautifully illustrated very clear instructions - do not get clever and deviate from them unless you really know what you are doing.  I have done this in the past to my cost.
Most kits start by building a basic box from the back, top, bottom and two sides.  Notice the expensive clamps - they do very well for this sort of thing.
Detail always matters to me - I love her shelf supports - how cool is that.  Please don't worry this looks scruffy and crude it will at this stage.  The first coat of paint brings up the surface of the wood and I don't fuss much with edges being neat just yet.  The cream colour is my ever-favourite shed paint (Cuprinol Shades) the green is basic green acrylic.
Jane supplies two shelves for the bottom cupboard and two for the top.  My memory of my mom's cabinet was that it had a narrow half shelf in the flap cupboard which had holes for eggs and always had the butter and lard and maybe cheese stored on it - a sort of dairy shelf.  So I did go a bit off piste and hacked one of the lower cupboard shelves down to the the width I wanted (half inch) and added it to the flap cupboard.  It also works out well because it means you can have good spaces in the lower cupboard shelves for bigger things - like the chip pan! Not for the very chic Vianne, of course.

I struggled to drill six neat holes the right size for the eggs and then decided I needn't have bothered - all I needed to do was chop a bit off the eggs and glue them in place.  They look fine.
Here the doors are made up and the first coat of paint applied.  Now comes the waiting game.  The paint needs to dry properly and then be rubbed lightly with very fine grade sandpaper or brown paper bag scrumpled up or, better still, the magic paint sponge I've mentioned before.  When those nibs are off and it is silky smooth the proper careful painting is done.


When all the painting was done - except I forgot the green across the bottom cupboard and across the pull-down flap and had to do it later - it was time to put the doors on.

I have to admit I found this a bit difficult.  You can locate one of the pins by sight but the second one has to be done by guess and by God.  To explain...

You get two sequin pins per door; you chop their heads off and push the remaining stick through the pre-drilled holes in the shelf and down into the pre-drilled holes in the door.  You then do the same through the base and into the door; et voilĂ , you have two hinges so the door will open.

Another difficulty I created for myself was that I didn't allow any slack when I put the shelves in.  I was desperate for a tight fit so by the time the doors had three coats of paint, moisture and pin fitting they were extremely reluctant to close.  So, that is definitely a handy tip if you are building stuff with doors that will open - allow some space to do this.


Here's the end result against its kit photo.  There are a couple more things I did slightly differently.  The ribbon hinges Jan has fitted from the back of the flap to the front of the cabinetwhich makes sense as the ribbons don't get in the way when closing the flap  Actually mine don't seem to though they theoretically should have!  Maybe also cabinets were like that but I have a memory of ours working this way....????  

I also edged the 'enamel' chopping board with a dark blue/black trim.  I wonder how many of my memories (pre ten years old!) are correct.

So, here we are, a useful piece of kitchen kit and almost an iconic thirties through fifties kitchen cupboard.  In a house with no fridge, freezer or pantry this is where all your food was stored.

I have put butter, lard and dripping on the shopping list - not to mention an open bottle of milk.

Link:  Jane Harrop Miniatures


(Come back tomorrow for views of the kitchen)


The Topping out Ceremony

You are cordially invited to the Topping Out ceremony.... well cyber-invited.

I got the gravelled mansard roof in place today so it was, officially,  the end of the build............


This building is early Victorian (maybe on an older cottage base) and mansards of poorer buildings weren't covered in lead - far too expensive.  They were made from about five layers of felt in the rafters covered with a tarred membrane and topped with gravel encased in a small edging with drainage access.  So, in keeping with that, here's the finished roof top.

In my case, this was made from (wallpaper) lining paper with a thin strip of wood all round; except where the hinges are.  I painted this with brown acrylic paint and left it to dry - under heavy books.  It was then daubed with Elmer's best and the gravel pressed into it.  Dried again and stuck down in the same way as the floors with double sided sticky tape - so if there is ever a lighting problem it can be easily removed.


The shop name is made from sticky back plasticy-paper letters painted gold.  It was customary for the local Earl (or large landowner) to fund pubs for their workers; this one was courtesy of Lord Stanley and was called the Stanley Arms.  Lucky for Vianne as it meant she could salvage the letters needed for Maya.  Good job it wasn't the Lord Raglan.


Here's the end result - chocolaterie/patisserie Maya!

You might notice it is also almost fully moved in.  I'll share those photos with you each day for the next few days.  For now let's just raise a glass to Vianne for a job well done.

.........and yes, that is champagne.  I know how to finish a project!


Saturday, 12 October 2013

Getting there


All the lights and floors are in; in fact the skirting boards (kick boards) are also in place now in the living area - there won't be any in the shop.  Since lighting it I have decided I need to add another light to the stairs - they seem to disappear.  They were too much work for me to be prepared to lose them.  It will be a simple job; the back panel will come off, drill a hole and hang a light. 


Friday, 11 October 2013

Frabjous day

Callooh! Callay! she chortled in her joy........

The last two pieces of the 'jigsaw' arrived this morning and I could feel the huge tension balloon deflate instantly like it had been pricked with a pin.  The end is in sight ...........


four lovely cakes


My four lovely cakes from Life of Riley made just for me - seek her out - buy her lace too!  Here they are in situ........


And last but in no way least ................

the epitome of a fifties kitchen


Anyone in this game for five minutes must know Jane Harrop's glorious kits.  Go visit if you haven't been for a while - there's new stuff all the time in one scale or another.

My all pervading memory of my childhood kitchen cabinet is not a happy one. My mother and a neighbour were sitting 'canting' in the front room, as all good Brummies of those days would say, and I was in the kitchen making myself a cheese sandwich.  This entailed opening the cabinet and chopping the cheese on the enamel chopping surface.  Not a great range of knives in our house so I chose a large sharp one, against my mother's advice.  Clunk, clunk, clunk followed by a blood-curdling scream from me as I noticed little bits of my cheese seemed to be moving...... what ever happened to cheese maggots?  The extent of my mother's sympathy was to tell me off for making such a fuss and worrying her and Mrs Manton - they thought I 'd chopped a finger off judging by the screams.

(Anyone watching Peaky Blinders?  That was my mother's Birmingham and was an expression I knew - I just thought it meant a bit of a rogue)

So,the last make for this project (for now) is a kitchen cabinet.  I am about to recreate a bit of my childhood in the cabinet and maybe even the cheese, but probably not the maggots.


Tuesday, 8 October 2013

What fun!

I am on what most folk would consider the fun part at last - making bits and bobs and dressing the project.

I suppose I should really be struggling to get the doors on but I can fill in my time nicely with stuff like this:


Another great creation just for me from ELF - she is a life-saver.  This muddle of a photo is so you don't have to go through the whole process with me - everything I used is here.

  • One kit cut to order plus two pages of instructions from Elf Miniatures
  • Small jig to get right angles right-angled from Jane Harrop
  • Clamps for, you guessed it, clamping from EBay (elastic bands will do)
  • Two pieces of wood, cling film and other clamps (elastic bands will do) for taking any bends out of the thin pieces of wood when they are painted - when still damp, wrap in cling-film and put them between the planks and clamp together.
  • My favourite (Country Cream) cream paint - Shades garden paint by Cuprinol - lovely colours, lovely finish beats acrylic every time if you can find the colour.
  • Favourite acrylic gloss paint by Martha Stewart - black as black, one coat only, slight sheen.  I even used it on a cast iron cooker I made - great stuff
  • Absolute favourite painting 'tool' a rub-down sponge thing from B & Q sold to smooth paintwork - great thing - takes out all your brush strokes and leaves silky smooth surface.
  • My all time best ever glue!  I now use this for everything and I mean everything - it glues anything to anything including painted or stained stuff, dries clear and you can paint or stain over any residue.  I do windows with it, metal to wood, plastic to whatever etc etc etc.  it probably isn't supposed to do everything but truly it hasn't failed me yet.  It is deliberately slowish to set so if I don't want to clamp or hold a piece until it gets a grip I just slather it on and put it to one side and do something else for a couple of minutes.  It is then tacky-ready to grip its opponent nicely and I don't have to hang around.  It is called R/C Modellers Craft Glue by Deluxe Materials but I call it  rocket glue because it claims it can withstand impact on rockets taking off and landing.  Don't ask them for it by this name though 'cos they have a glue actually called that!
Mix them all together and we get this:

and, yes, the cupboard doors do slide


My next bit of construction was something to make Hepplewhite turn in his grave.  Not only did his furniture get miniaturised it then got turned in DIY kits.  To add insult to injury it ended up being painted green!


This is a House of Miniatures corner wash stand that I have had for a while and never found a home for.  I decided Vianne needed something up the corner by the sink for dishes.  Necessity being the mother of invention, she, like me, would paint an old piece of furniture to match the kitchen and make do for the time being.  So it became this:


Actually it is better than this, as that was a one-coat, last night's photo - today it had a coat of acrylic gloss and a bit of a rub down so is now as smooth as a baby's bottom.

In all the jobs I had in my working life I never managed to haunch or flaunch a chimney so apologies for the pretty rough job on these:  they are not as smooth as a baby's bottom.  I may have a go at smoothing them sometime but for now the pots are 'mortared' in place on top of the bricks and fillet.


I did this using the last of my B & Q ready to use filler - another all-purpose useful mini item.  I mixed in a little dab of black and dark green paint to try and make it look the right colour and then fiddled around trying to do a reasonable job.... mmmmmm?

If I was feeling a little knocked-back by these when I got up this morning this little gem revived my spirits.  

Postie delivered this lovely cooker from Country Contrast.

You might remember I have already bought a Warwick/Phoenix kit to do this myself but time is short and I have more pressing things to do (in RL as well as mini world) so I did a short-cut and sent for one of their wonderful ready done pieces.  Country Contrast are always in my top ten most wonderful products list and I always try to pick up a little something from their stall whenever I see them at a show just to remind me how great they are and to amass their lovely things over time.

and, yes, this door opens too!

As I said to its creator - this cooker has a special resonance for me as my mother had one (in speckly grey/blue) from the forties until 1994 when she moved to another home and we persuaded her to have a new cooker.  Her vitreous enamel coated cast iron old faithful was as immaculate as the day it was born and she was a great cook, so it was in continual use: not to mention it was our only source of heat in our kitchen so it even served as a 'gas fire'.  To coin a phrase - they don't make them like that any more - cooker or moms!

In the next couple of days I hope to get the opening doors and roof in place and dress a few pieces ready for the final 'dressing' and photographing.  Such an exciting stage of the build.


Sunday, 6 October 2013

Two days without email

As I could feel the panic building I decided to send an 'out of office' reply to emails for two days and see if I could crack on with some stuff for Chocolat.  It worked like a charm.  Just look at what I got done:


All the lights went in.  Swiftly followed by the floors, touched up paint work and put in skirting boards.  

I know these aren't Ray Storey lights but it didn't work out in the end and I was back with the usual Heidi Ott and others.  Big thanks due here to Jennifers of Walsall who came up trumps as always.  I ordered them 1st October and they were with me and in the house on the 4th!

Lesson learned.


Ken also put the extra space on the back of the shop for the stairwell to the flat and the kitchen.  It made a great place for the lighting board. 

Small World Products kit - this is the way to go!  It so beats pushing and pulling those plugs around with your teeth and nails.  No kidding - I doubt that putting in the seven lights lights took an hour!!  SWP is to be an article in DH & MS by me so I won't ramble here as well. Just check out the system if you haven't seen it before.  Simple as a pimple on a flea's left leg!


 All four doors went in.

This has the magnificent Yale lock from Delph Miniatures. 

Honestly Kath, the door looks better than this - the light seems to have caught every blemish.  As for your lock - some people working on Chocolat would dream about Johnny Depp - me? - I dream mini Yale locks.


This is the door to the stairs down to the kitchen - we just get a glimpse of the corridor and the light at the top of the stairs. 


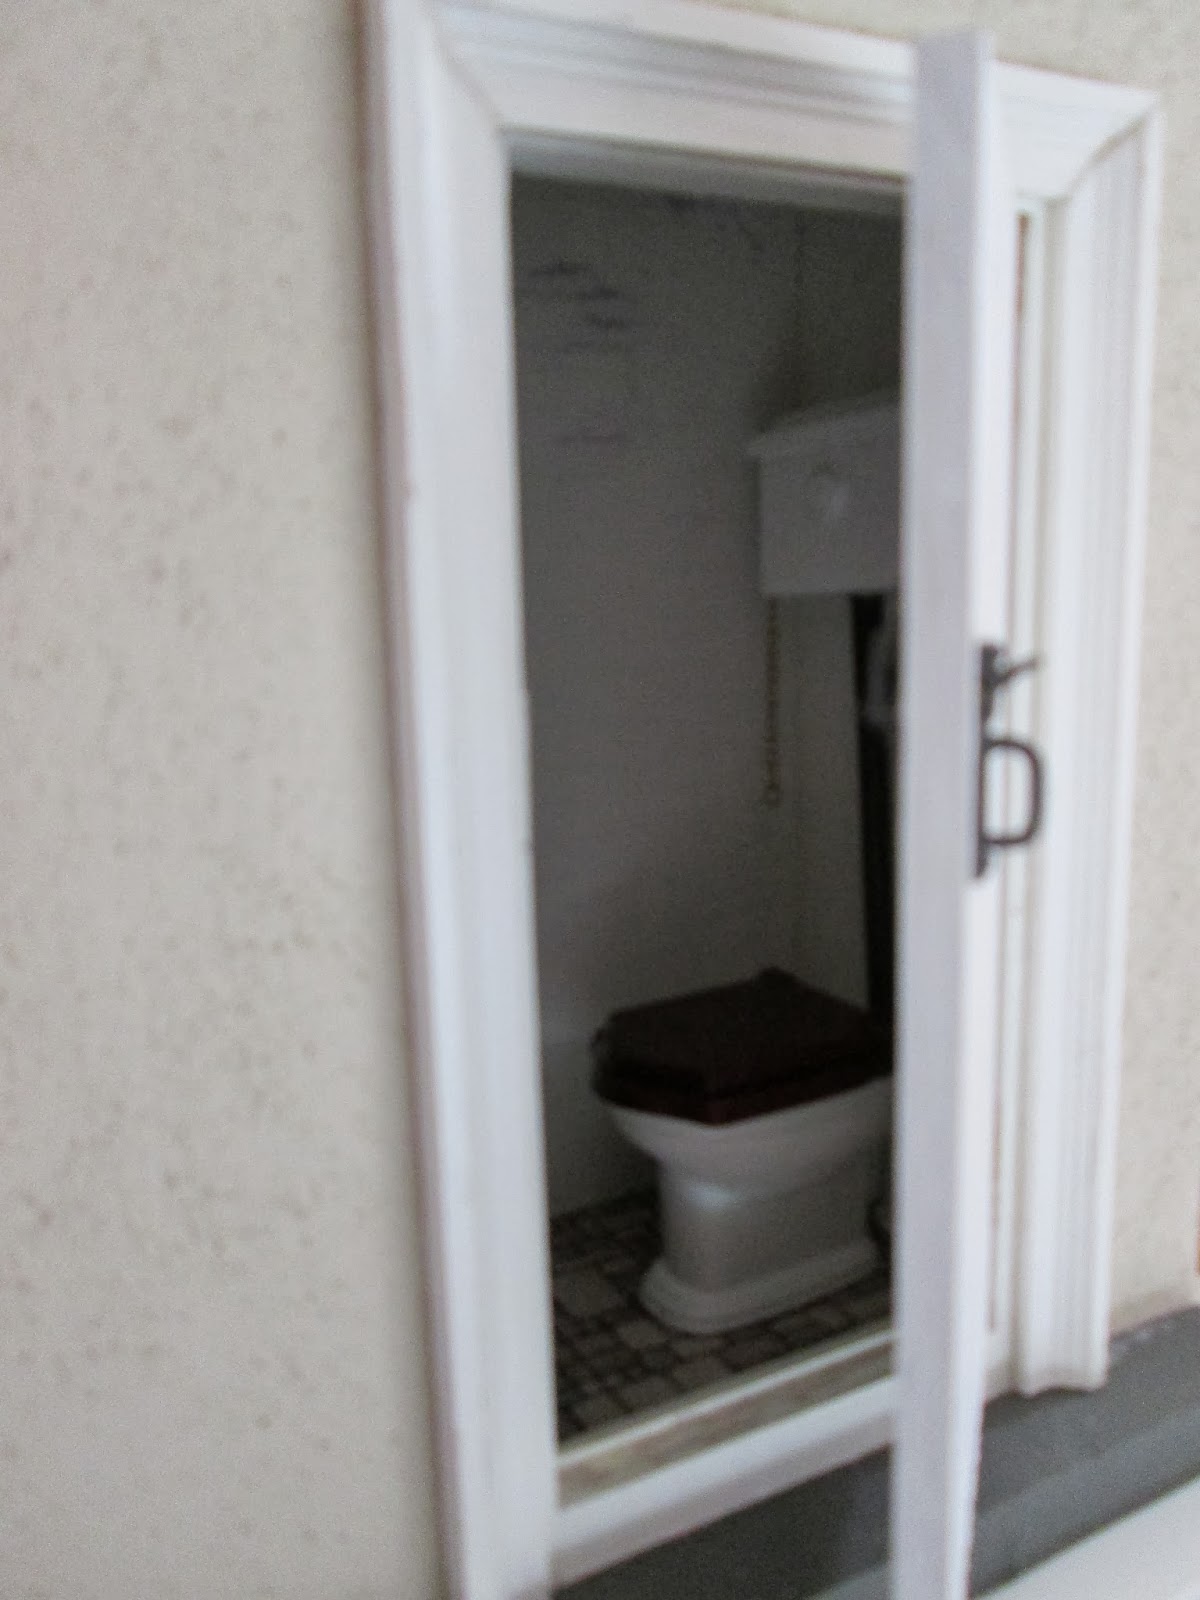
The outside privy has an actual; working Suffolk latch.  It was a bit of a pig to do without decent tools but also fun and great to end up with something like this.  I also got the lino down and the lavatory in.

I haven't bothered with a photo of the  fourth door.  It is just a false door in the kitchen - so no interest there, but it was another job done!


Next came the sheer pleasure of putting my ELF cupboards in place.  they have been waiting for such a long time.

Perfect fit.

Tah dah!


Got the outside stair rail sorted - not a huge job but every bit of trim that goes back in place makes it more and more finished looking.


Again not a flattering photo - looks better in real life.  I cut and reassembled the lovely encaustic tiles and made something for the doorway.  

Oh poop - just spotted the diamond in the centre of each square - two pointing down and one pointing right.  I can't live with one eye up the chimney so this will be a re-do.  That'll teach me to crow.


Here comes the fun bit - I disassembled someone's lovely handiwork and decked out my Easter bunny display table.

A sort of Mad Hatter's tea party.  hence tea pot and tea cup and saucer and tea packing box below.


The (mostly) chocolate counter also had a bit of a re-jig as I had spare chocs and a carrot cake from my wrecking a display.


I finished the chocolate window with more leftovers until anything better turns up.  I prefer stand-ins to spaces.


Finally a bit of rejiggling of the shelves.

The final picture is what happens when you knock this over taking a photograph of it.  You get to spend ages crawling round the carpet trying to decide what's chocolate and what's sock rubbish!  Then a jolly half hour putting it all back.


Thursday, 3 October 2013

Beautiful cakes

This is where I show my true nature.... I have ordered four cakes and should wait for all four to share them with you BUT I am so excited by the first three that I can't wait.

I saw the work of Suzy Riley (Life of Riley) at Miniatura and having seen her chocolate cake with tiny roses and piping I thought she'd be the lady to make my cakes for me..... bit of a chat and I then emailed her some classic French cake pictures and the size I needed to fit on my dishes. This is what she has made for me so far..........


a 2cm diameter Flourless Chocolate Cake


a 2cm diameter Chocolate Curl Cake


incredible 1.5 x 1 cm L'Opera cake

How anyone can make such chocolaty looking chocolate - texture, colour, shine and. even more astonishing, pipe scrolls and words at that scale I can't begin to imagine.  You should see my full size real life attempts!!

I have a 'heart' themed cake for the Valentine chocolaterie window still to be made.... it's like waiting for Christmas!!

Click here: Life of Riley to visit her site.  Nearly forgot - her lace is glorious too and she does 1/24th so I know where I shall be shopping for Muir House.